MENU
How to Dry Out Flowers: Preserving Nature’s Beauty

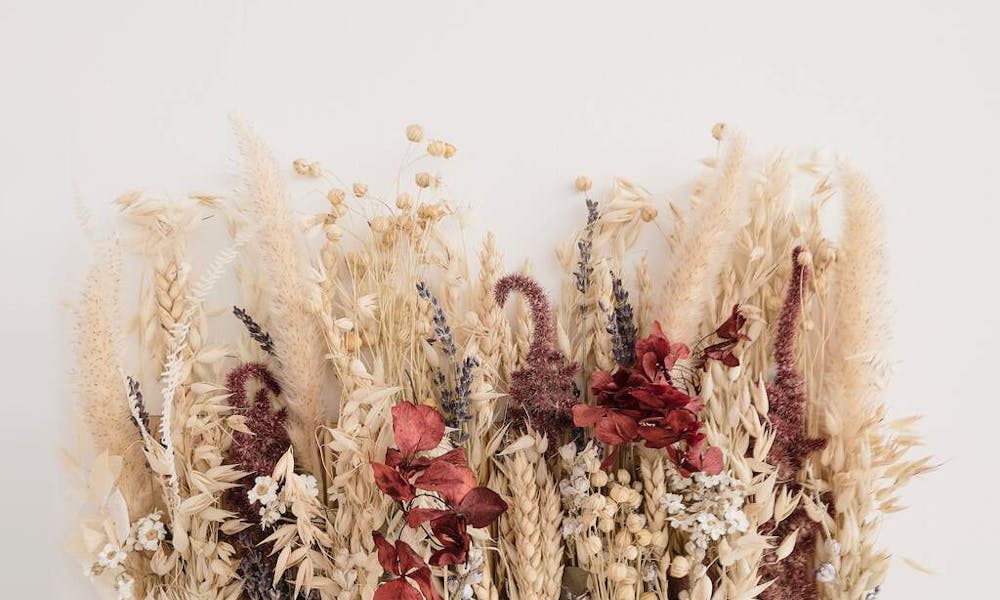
Flowers hold a special place in our lives. They bring joy, beauty, and a touch of nature’s elegance indoors. But what happens when those fresh blooms start to wither? Drying flowers is an art that allows us to capture their beauty and extend their lifespan. In this guide, we’ll explore various methods and tips for drying out flowers, so you can enjoy their charm long after they’ve left the garden.
Introduction
Drying flowers is a time-honored practice that dates back centuries. The allure of preserving vibrant blooms is not just for aesthetics but also for sentimental reasons. With the right techniques, you can retain the essence of flowers long after they’ve been picked.
Why Dry Flowers? The Appeal of Dried Floral Arrangements
Dried flowers possess an enduring beauty that adds a rustic charm to any setting. They evoke a sense of nostalgia and can be a wonderful reminder of special moments. The versatility of dried flowers allows for a wide range of decorative uses, from wreaths and potpourri to framed art and centerpieces.
Selecting the Right Flowers for Drying
Not all flowers are created equal when it comes to drying. Some varieties maintain their color and shape better than others. Flowers with sturdy petals like roses, lavender, and sunflowers are excellent candidates for drying.
Methods for Drying Flowers
4.1 Air Drying
Air drying is the simplest and most traditional method of preserving flowers. It involves hanging the flowers upside down in a cool, dark place to naturally remove moisture.
4.2 Pressing Flowers
Pressing flowers is ideal for creating delicate, flattened blooms that can be used for crafts and decor. This method involves placing flowers between sheets of absorbent paper and pressing them down with weight.
4.3 Using Silica Gel
Silica gel is a desiccant that effectively dries flowers while preserving their color and shape. Flowers are buried in silica gel crystals, which gradually draw out moisture.
4.4 Microwave Drying
Microwave drying is a quick technique that involves using a microwave-safe container filled with desiccant material. This method is best suited for small, thin flowers.
4.5 Oven Drying
Oven drying utilizes low heat to gently remove moisture from flowers. This method is useful for flowers that are sensitive to decay, as the drying process is faster than air drying.
Step-by-Step Guide to Air Drying Flowers
5.1 Choosing the Ideal Time for Harvesting
To achieve the best results, harvest flowers in the morning after the dew has evaporated but before the sun is too hot.
5.2 Preparing the Flowers
Remove excess leaves and trim the stems to a uniform length before drying.
5.3 Bundling and Hanging the Flowers
Gather small bunches of flowers and secure them with rubber bands. Hang them upside down in a well-ventilated area.
5.4 Monitoring the Drying Process
Check on the flowers regularly and gently touch test them for dryness. This process can take a few weeks.
Creating Art with Pressed Flowers
6.1 Pressing Flowers with Books
Place flowers between two sheets of absorbent paper and insert them into a heavy book. Leave them to press for a few weeks.
6.2 Using a Flower Press
Flower presses are designed specifically for pressing flowers. They provide even pressure and are a quicker alternative to using books.
Preserving Flowers’ Color and Shape with Silica Gel
7.1 Preparing the Flowers and Container
Trim the stems and place the flowers face up in an airtight container.
7.2 Burial Method with Silica Gel
Completely bury the flowers in silica gel, making sure petals are spread apart for optimal drying.
7.3 Using a Sealable Bag
Place the flowers in a large sealable bag with silica gel and gently shake the bag to ensure even coverage.
Quick and Efficient Microwave Drying
8.1 Preparing the Flowers for Microwaving
Place a layer of desiccant material at the bottom of a microwave-safe container. Trim the flowers’ stems and insert them in the material.
8.2 Microwaving Process
Microwave the flowers in short bursts, checking them after each burst until they are dry.
Oven Drying: Harnessing Low Heat
9.1 Oven Drying Method
Place prepared flowers in an oven set to the lowest possible temperature. Keep the oven door slightly ajar to allow moisture to escape.
9.2 Monitoring the Flowers
Monitor the flowers closely to prevent overheating. The drying process usually takes a few hours.
Best Types of Flowers for Drying
Certain flowers are more suitable for drying due to their structure and durability. Roses, lavender, baby’s breath, and strawflowers are among the top choices.
Tips for Maintaining Dried Flowers
To ensure your dried flowers last longer, keep them away from direct sunlight and humid environments. Gently dust them regularly to prevent buildup.
Incorporating Dried Flowers into Home Decor
From framing dried flowers to creating unique wreaths, there are countless ways to integrate dried blooms into your home decor. Get creative and let your imagination run wild.
Conclusion
Drying flowers is an art that allows us to preserve the beauty of nature in its various forms. Whether you choose the simplicity of air drying or the precision of silica gel, the end result is a lasting masterpiece that brings a touch of the outdoors inside.
FAQs (Frequently Asked Questions)
- Can I dry flowers without using any specialized materials?Yes, you can air dry flowers using basic supplies like rubber bands and a cool, dark space.
- How long will dried flowers retain their beauty?When properly cared for, dried flowers can last anywhere from several months to a few years.
- Is silica gel safe to use at home?Silica gel is safe to use, but it should be handled with care and kept away from children and pets.
- Can I use the microwave to dry any type of flower?Microwaving is best suited for small, thin flowers. Bulkier flowers may not dry evenly in a microwave.
- Are there any flowers that don’t dry well?Flowers with high water content, like succulents, do not dry well and may become mushy instead.

