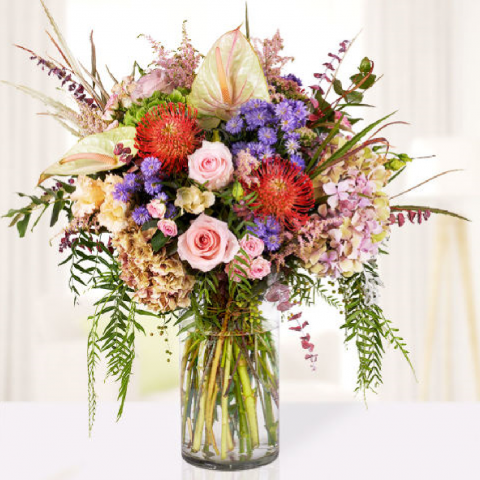
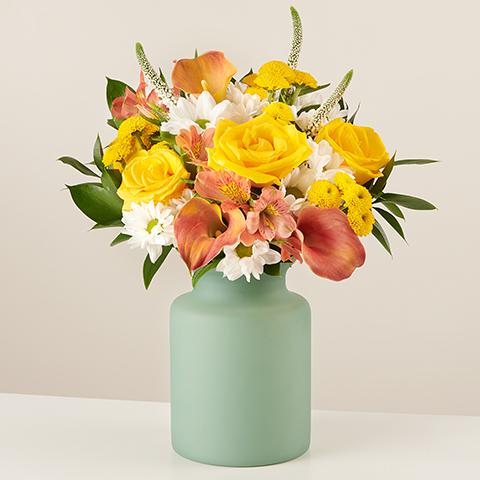
If you’ve ever received a beautiful bouquet of flowers and wondered how they were elegantly wrapped, you’ve come to the right place. In this comprehensive guide, we will walk you through the process of wrapping a bouquet of flowers like a professional florist. Whether you want to prepare a stunning gift for a loved one or simply add a touch of beauty to your home, learning how to wrap a bouquet of flowers is a valuable skill. So, let’s dive in and explore the art of floral arrangement!
How to Wrap a Bouquet of Flowers: A Detailed Guide
Gathering Your Materials
Before you embark on the journey of wrapping a bouquet of flowers, make sure you have all the necessary materials within reach. Here’s a list of what you’ll need:
- Fresh flowers: Choose your favorite blooms or a combination of different flowers to create a visually appealing bouquet.
- Floral tape: This self-adhesive tape will help secure the stems and keep the bouquet in place.
- Scissors: A sharp pair of scissors will allow you to trim the stems and create clean cuts.
- Decorative wrapping paper: Select a beautiful and sturdy wrapping paper that complements the colors of your flowers.
- Ribbon or twine: A ribbon or twine will add an elegant finishing touch to the wrapped bouquet.
- Optional extras: You can also include additional embellishments such as decorative pins, charms, or a small note card.
Preparing the Flowers
Now that you have all your materials ready, it’s time to prepare the flowers for wrapping. Follow these steps:
- Trim the stems: Using your scissors, trim the stems of the flowers at an angle. This angle cut allows for better water absorption, ensuring the longevity of the bouquet.
- Remove excess foliage: Remove any leaves or thorns that will fall below the waterline when the bouquet is placed in a vase. This prevents bacterial growth and keeps the water clean.
- Arrange the flowers: Begin arranging the flowers in your desired pattern. Group together different types of flowers and intersperse them with foliage for an attractive composition.
Wrapping the Bouquet
Now comes the exciting part—wrapping the bouquet in a way that showcases its beauty. Follow these steps to achieve a stunning wrapped bouquet:
- Secure the stems: Take the floral tape and wrap it tightly around the stems, starting from the top and working your way down. This will hold the bouquet together.
- Cut the wrapping paper: Cut a piece of wrapping paper that is large enough to fully cover the bouquet when folded diagonally.
- Create a cone shape: Fold the wrapping paper diagonally to form a cone shape, with the tip of the cone pointing downward.
- Insert the bouquet: Carefully insert the bouquet into the cone-shaped wrapping paper, ensuring that the stems are completely covered.
- Fold and secure: Fold the excess wrapping paper at the top of the bouquet and secure it with a piece of tape or a decorative pin.
- Tie a ribbon: To add a decorative element, tie a ribbon or twine around the base of the bouquet, covering the taped area.
Frequently Asked Questions (FAQs)
Q: Can I use any type of flowers to create a bouquet? A: Absolutely! You can use a variety of flowers to create a bouquet, including roses, lilies, tulips, daisies, and more. Choose flowers that complement each other in terms of color, shape, and size.
Q: How do I ensure the bouquet stays fresh for longer? A: To prolong the freshness of your bouquet, keep it in a cool location away from direct sunlight and drafts. Change the water every few days and trim the stems regularly to promote water absorption.
Q: Are there any alternatives to wrapping paper? A: Yes, you can explore creative alternatives such as burlap, tissue paper, or even fabric to wrap your bouquet. These options can add a unique and rustic touch to your floral arrangement.
Q: Can I add personal touches to the wrapped bouquet? A: Absolutely! You can personalize the bouquet by attaching a small note card with a heartfelt message or adding decorative charms that hold special meaning for the recipient.
Q: How do I transport a wrapped bouquet without damaging it? A: To transport a wrapped bouquet, place it in a sturdy vase or container with enough water to keep the stems hydrated. Avoid placing the bouquet in a crowded space where it could get crushed.
Q: Can I use this wrapping technique for other types of arrangements? A: Yes, this wrapping technique can be adapted for various floral arrangements, including single stem bouquets, mixed bouquets, and even centerpieces. Feel free to experiment and unleash your creativity!
Conclusion
Wrapping a bouquet of flowers is an art that allows you to showcase the beauty of nature in a thoughtful and visually pleasing way. By following the step-by-step guide outlined above, you’ll be able to create stunning wrapped bouquets that are sure to impress. Remember to gather the necessary materials, prepare the flowers with care, and wrap them in a way that highlights their splendor. Whether it’s for a special occasion or a simple gesture of appreciation, a beautifully wrapped bouquet is always a delightful gift.


