MENU
Floral Headband: DIY with flowers

Welcome back to the latest post in our DIY with Flowers series! We have already shown you how to make a whole host of decorations and accessories, and this week is no different, as we will show you how to make a gorgeous floral headband. This will be perfect for any of those spring and summer parties that are coming up, and you can look stylish in the season and are bound to catch the eye with a burst of colour in your hair!
What do you need to make the floral headband?
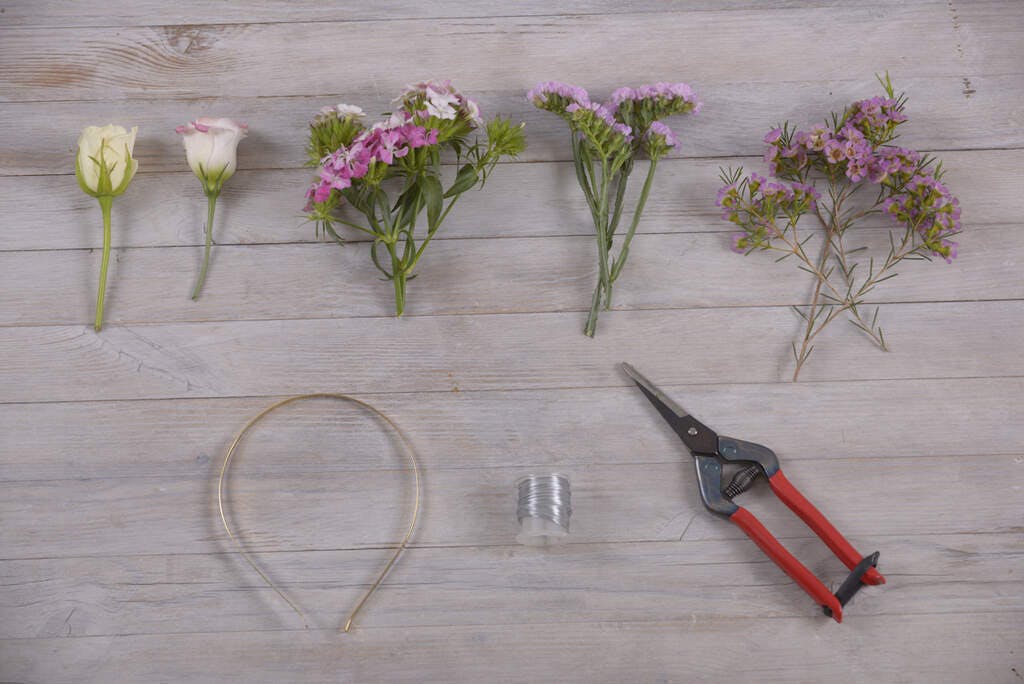
With our DIY with Flowers series, it’s vital that you are able to make all of our accessories and decorations with ease! As always, we have tried to select tools which you are likely to have already at home, or will be very easy to find in your local DIY, craft or gardening store.
- A headband, any material should work perfectly
- Some thin metal wire or string
- Shears or scissors
In terms of flowers, you can of course use which ever flowers take your fancy! We will recommend the ones that we have used in this example, but you can adapt your choice of flowers to suit the occasion or theme of the event, or just for something more colourful if it is more to your taste!
- White rose
- Pink rose
- Purple limonium
- Pink baby’s breath
- Purple yarrow
Once you have all of this ready, we can get started!
Instructions
Step 1: decide on your look

Here, we will show you how to make a headband which is only partly covered with flowers. You can skip to the final step to take a sneak peek and what it will look like! However, you may wish to keep going and keep adding flowers to get a full flower headband like this.
To do this, simply continue adding flowers as we will show you, in exactly the same way. It will be as easy as 1-2-3, don’t worry! We have put this as the first step as it’s important to make sure you have the right number of flowers before you start, otherwise you could end up with a bit of a lop-sided looking headband!
This is also an important step so that you can choose the colour theme for your flowers.
Step 2: Pick your flowers and cut the stems
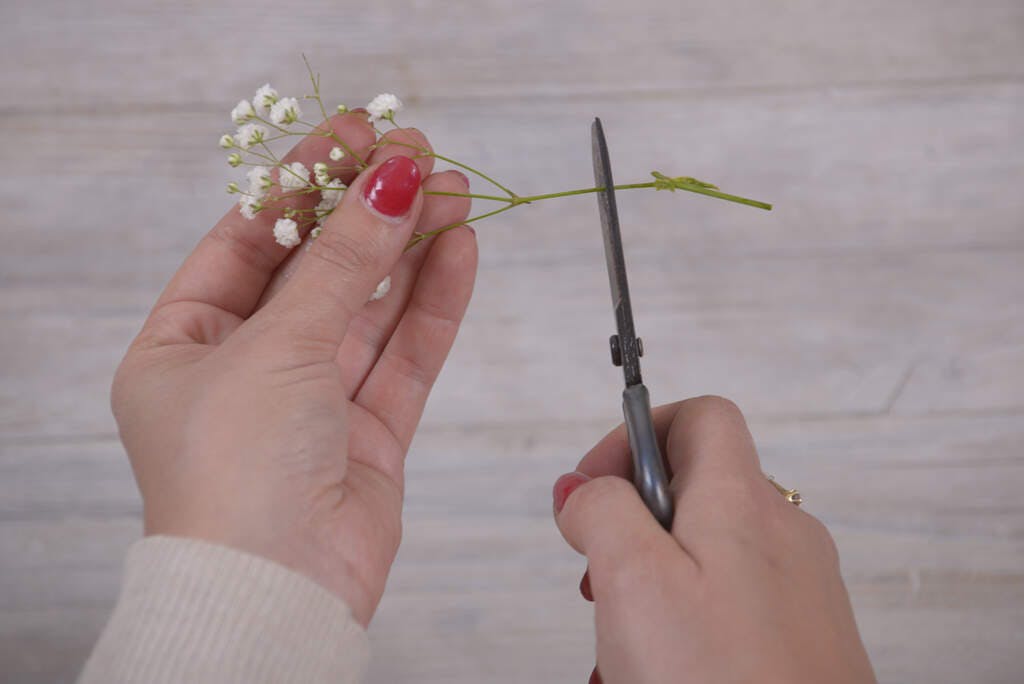
First, cut the stems of your flowers down. This is important so that they are ready for the next steps, and also so that you don’t have long stems sticking into your head when you wear your lovely headband!
Step 3: Tie some wire to your headband
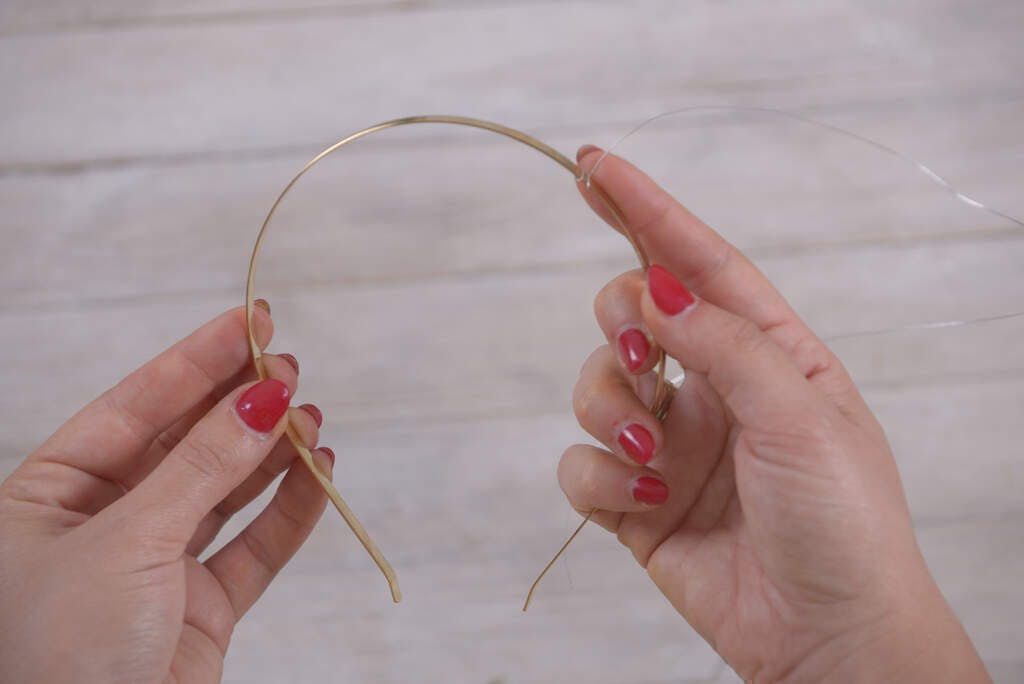
Next, tie some wire to the start point of the headband. This will be where we add the first flower. As you can see here, we have used a metal headband, this or plastic works best as the strength provides a bit more solidity to the headband which holds everything in place more easily. You can also try it with an elastic or material headband, and follow our instructions in exactly the same way.
Step 4: Add your first flower
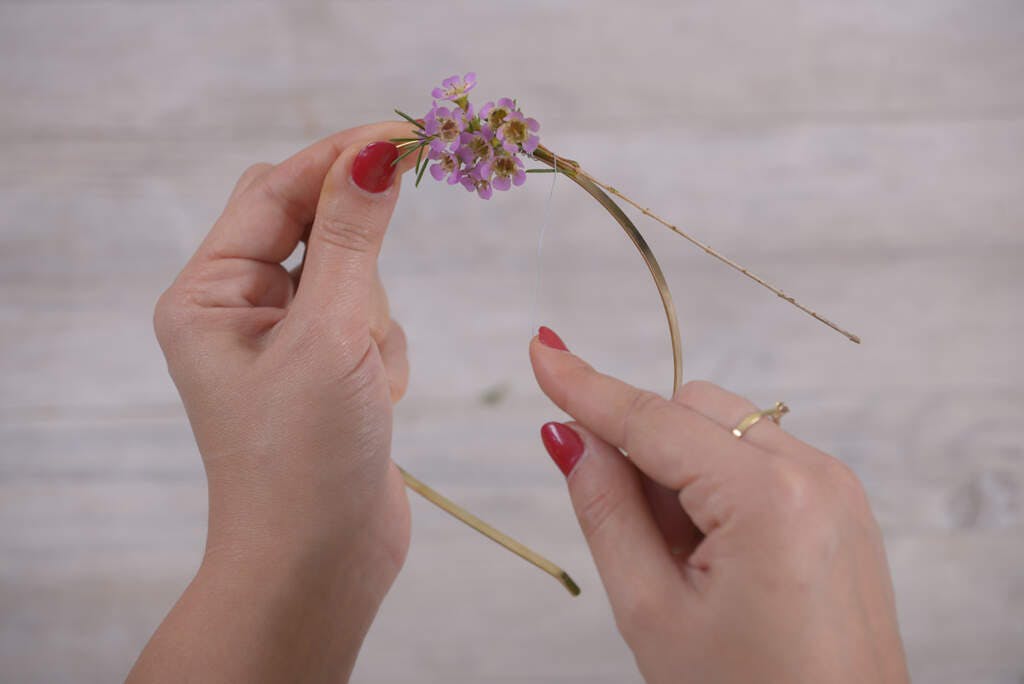
Then, add your first flower. Do this by placing it alongside the headband, and then wrapping the metal wire around it. It’s best to wrap around the stem a few times to add as much strength and stability as possible.
Step 5: Keep adding flowers
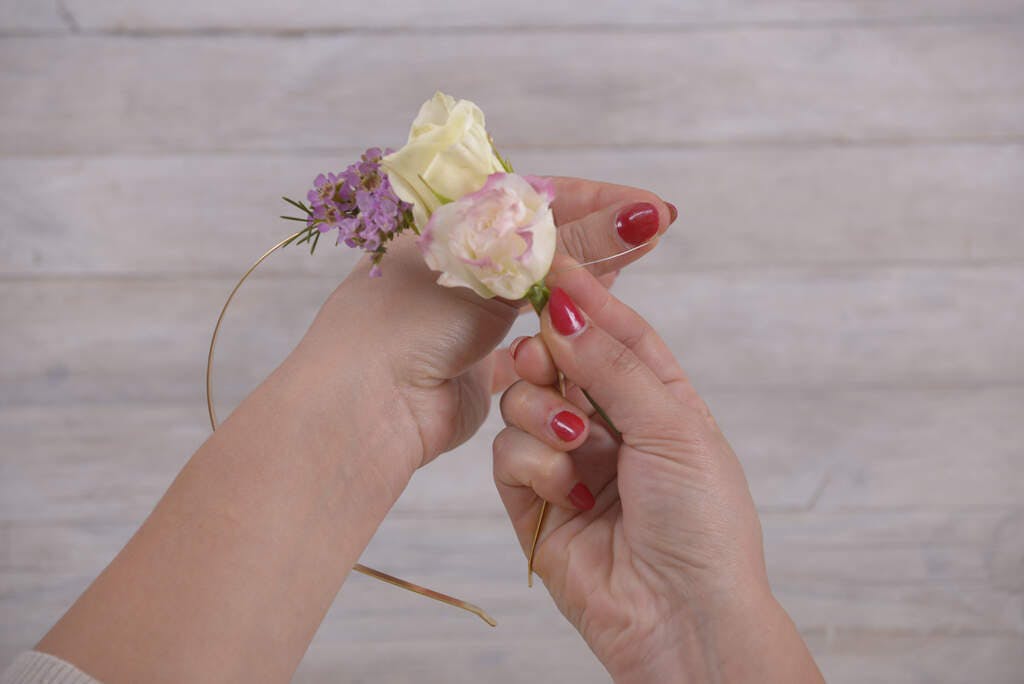
Here, we continue to work on the floral headband in the same way. It is best to add more flowers so that they overlap with the previous flowers slightly. This ensures that there are no gaps in the headband, and it looks full and complete so that it really catches the eye when you wear it.
Be careful to avoid the blooms of the flowers when wrapping the wire or string around, as you wouldn’t want to damage your flowers before you really have a chance to properly show them off.
Keep adding flowers until you are happy with the number of flowers on your floral headband.
Step 6: Tie off your wire at the end
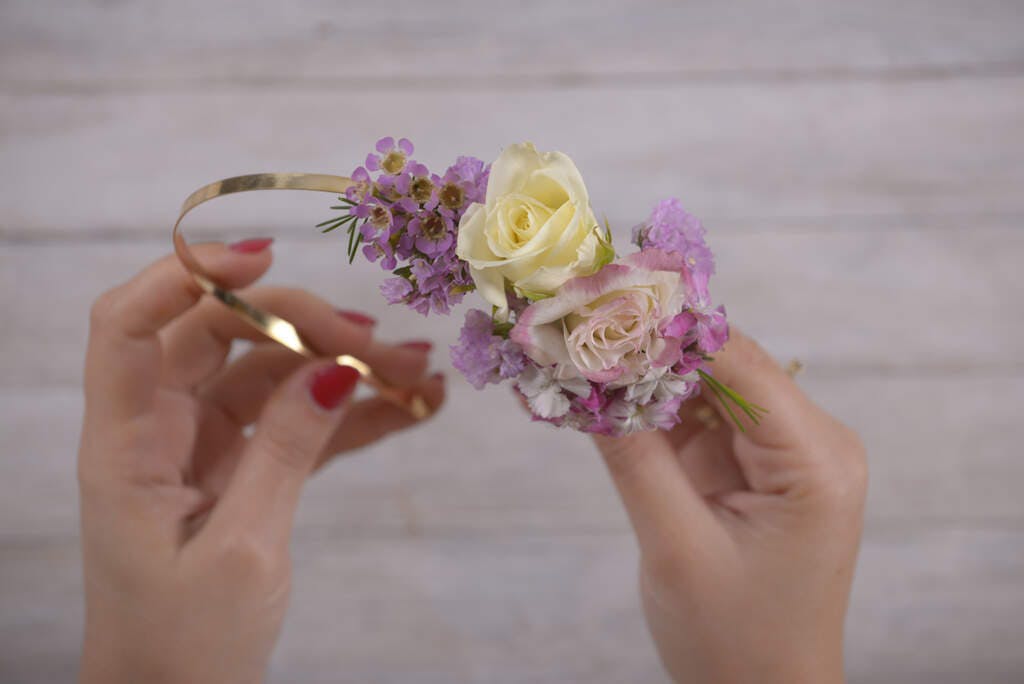
This step is important to finish everything off. Once you have added all the flowers you want, tie the wire around the headband a final time and tie a knot in the wire to ensure that it remains secure. Then cut off any leftover wire and try to avoid leaving any sharp edges. We sometimes suggest adding some tape around the wire here, so that it avoids anything poking into your head and making you feel uncomfortable!
Step 7: Wear, look great, and enjoy!

Finally, you can put your floral headband on and look great! You are sure to be the star of the show with these beautiful, fresh flowers in your hair! Be careful not to damage any of the delicate flowers as you transport your headband and when putting it on, wearing it or taking it off.
If one of the flowers does get damaged, you can easily replace it by pulling it out from the wire and adding a new flower with some added wire wrapped around.
Most importantly, be sure to enjoy the occasion, whether it is a spring or summer party, a wedding, or just for fun!
If this has given you some inspiration, then don’t forget to check out the rest of our DIY with Flowers series, and if you are suddenly feeling floral, then check out our wide range of flowers available for delivery to over 90 countries worldwide. Thank you for reading and good luck making your floral headband!

