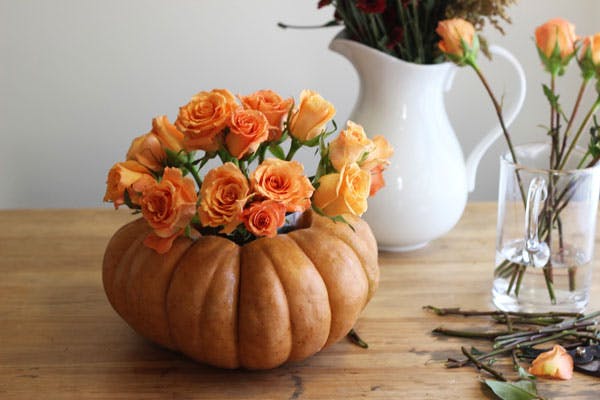
Welcome back to our "DIY with Flowers Series"! Today, we're featuring a homemade pumpkin arrangement with flowers. In this blog article, we'll show you how easy it is to make a pumpkin arrangement with flowers as a Halloween decoration. One of the reasons we love autumn is the new burst of colors and the chance to redecorate our homes with beautiful handmade or bought details.
A vase made from a pumpkin is an original decorating idea for Halloween time as well as a great gift idea and memento for a Halloween party. The pumpkin vase is quick and easy to make and is also a great crafting project with children. So, let's get to work!

CHOOSE A PUMPKIN
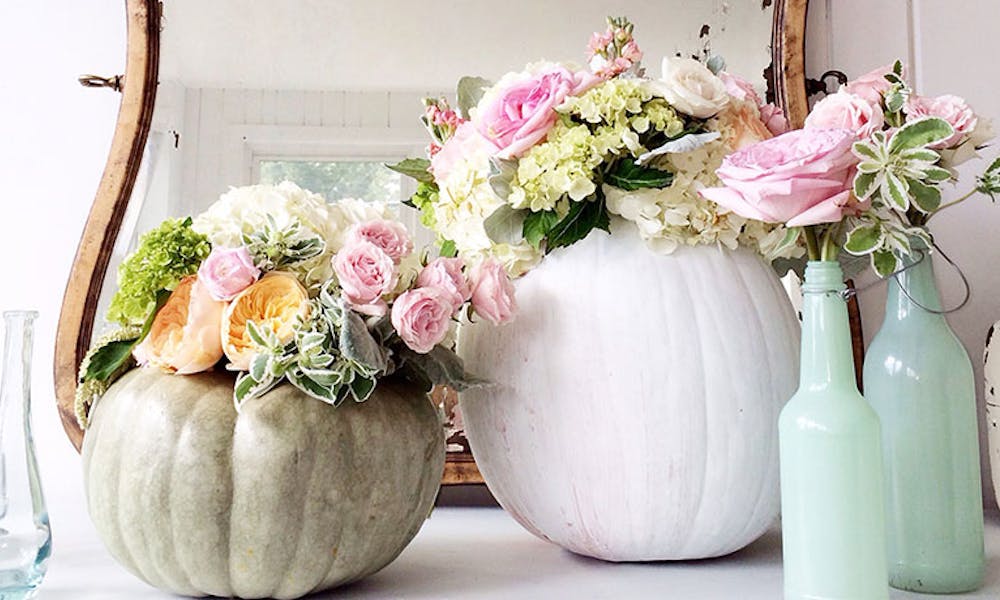
First things first, for a pumpkin arrangement, we need a pumpkin! Pumpkins are available during autumn in all shapes, colors, and sizes. You can find them at the supermarket or at your local produce vendor. For a vase, a slightly wider pumpkin is best suited. The color choice is up to you. Whether you want to create an elegant, simple vase that highlights the flowers, or a vase that stands out on its own. Whether you prefer a cream-colored pumpkin or the traditional orange pumpkin, choose the color according to your taste! Once the perfect pumpkin is selected and safely brought home, we can start selecting the flowers and making the vase.
CHOOSE THE FLOWERS
Which flowers you choose for the pumpkin is entirely up to you! We find that during the autumn and Halloween season, intense reds and oranges are especially fitting. However, an alternative with soft pastels featuring peonies or hydrangeas is also a fantastic choice. For the traditional version,sunflowers, gerberas, or roses are perfect. If you need inspiration for selecting the right flowers, you can find plenty of different flowers in our shop. Once you’ve chosen the right flowers, we can begin making the pumpkin vase.
CUTTING AND HOLLOWING OUT THE PUMPKIN
First, the pumpkin is cut horizontally at the top and the lid is removed. The lid can be used for further Halloween decoration ideas, but we don't need it for the vase. Now the seeds and pulp can be removed from inside the pumpkin with a spoon. Once the pumpkin has been freed from its innards, you can rinse it with water. Then let the pumpkin dry thoroughly before proceeding to decorate it.
DECORATING PUMPKIN WITH FLOWERS
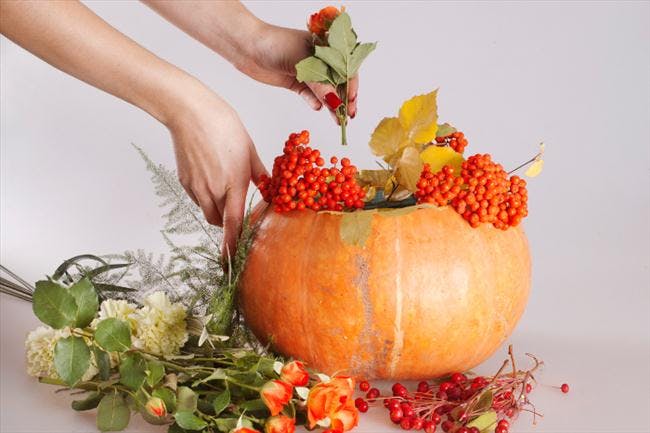
To ensure the flowers are sufficiently supplied with water, we place a small vase or glass inside the pumpkin. The glass or vase should preferably not be visible from the outside. Fill the glass halfway with water and add the flower nutrients. Now the stems of the selected fresh flowers can be trimmed. In addition to the selected flowers, you can also add green, autumnal leaves and branches of the season. Generally, the flowers remain fresh for about 7 days.

To extend the lifespan, you can check the water daily and refill it if necessary. Avoid exposing the flowers to direct sunlight or drafts.
With such an autumnal flower decoration, you give your home a warm and inviting atmosphere. The vibrant colors of the leaves and blossoms not only lift the mood but also create a harmonious connection to nature. Try different color combinations and flower types to add your personal touch.
A little secret tip: Arrange a few tealights around the pumpkin. The flickering light enhances the autumn charm and ensures cozy autumn evenings. If you want to infuse more creativity into your arrangement, you can distribute small decorative pumpkins or chestnuts around the flower decoration.
That’s how your autumn flower pumpkin becomes not only an eye-catcher but also an expression of your creativity and attention to detail. Be proud of your work and delight in the admiration of your guests. Happy Decorating!
CHOOSING THE PERFECT SPOT
The dining table or coffee table are ideal places for the new Halloween decoration. We hope we could show you today how easy it can be to create a seasonal decoration yourself! With just a few products and steps, the living room gets a new look! Have fun replicating!
